Getting Your Brake Pad Curing Walls Right
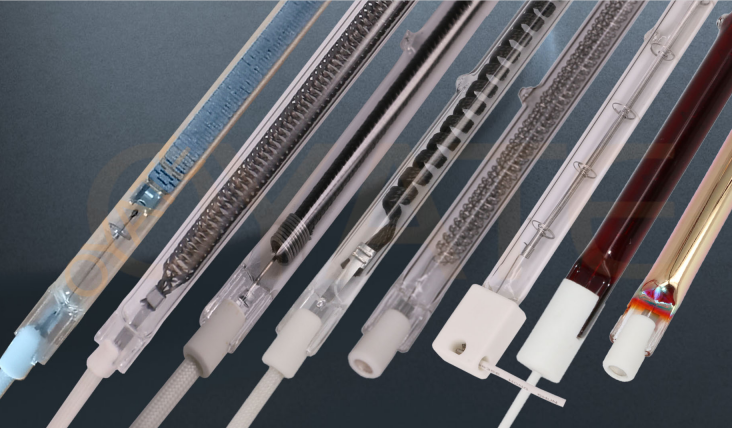
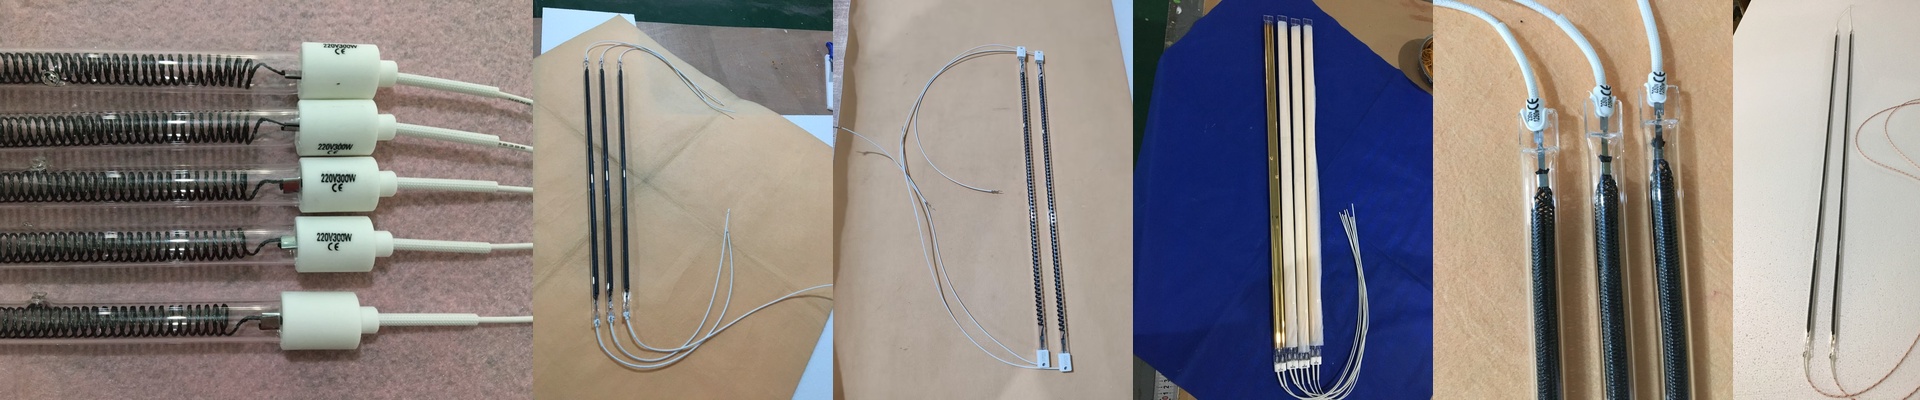
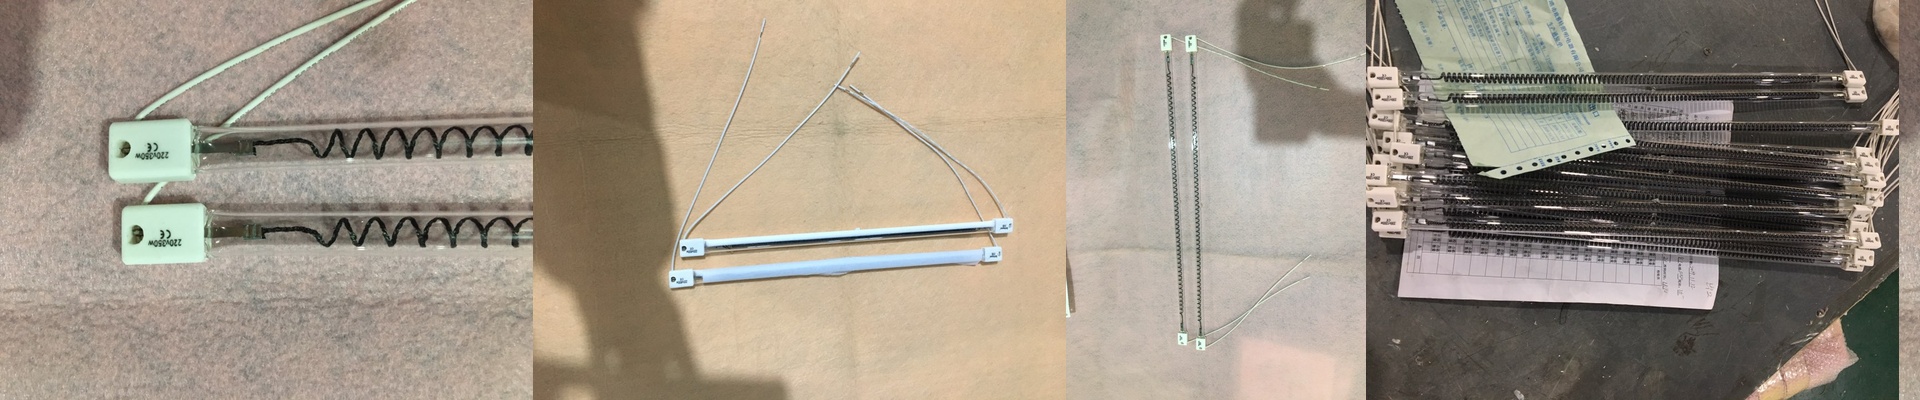
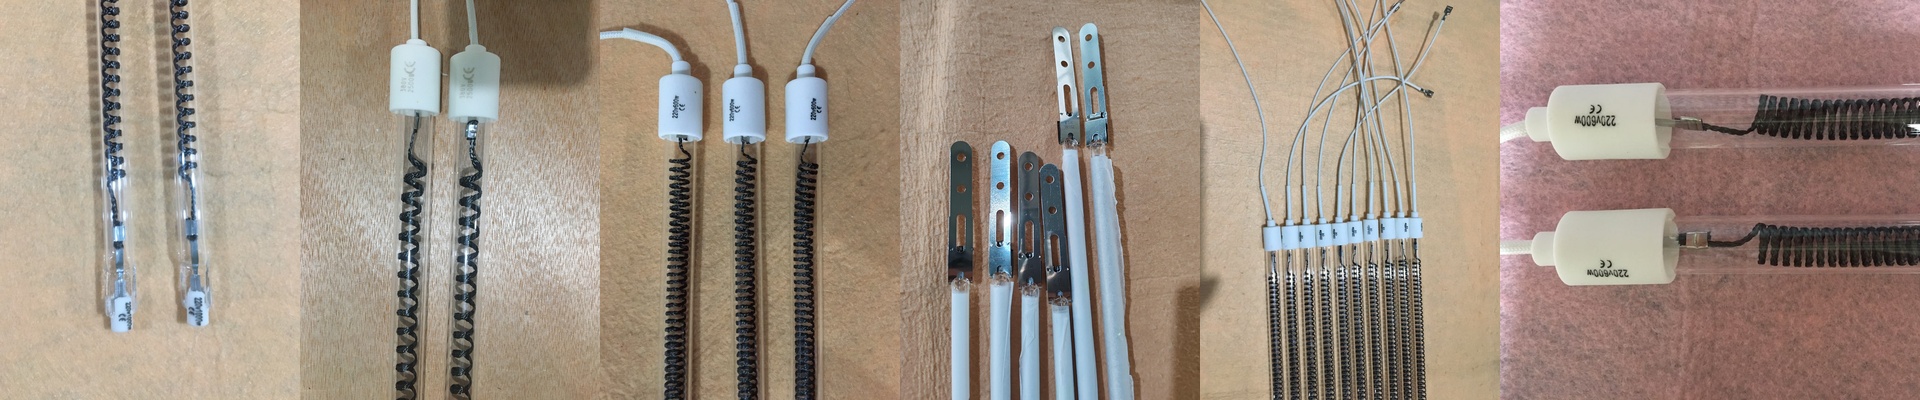
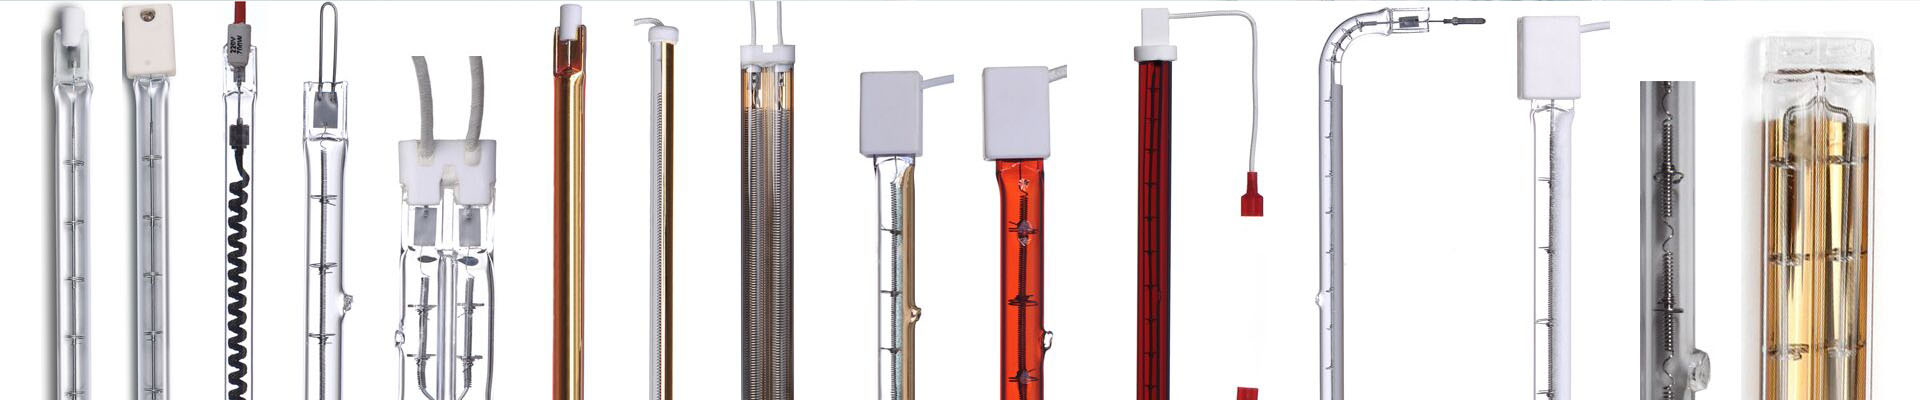
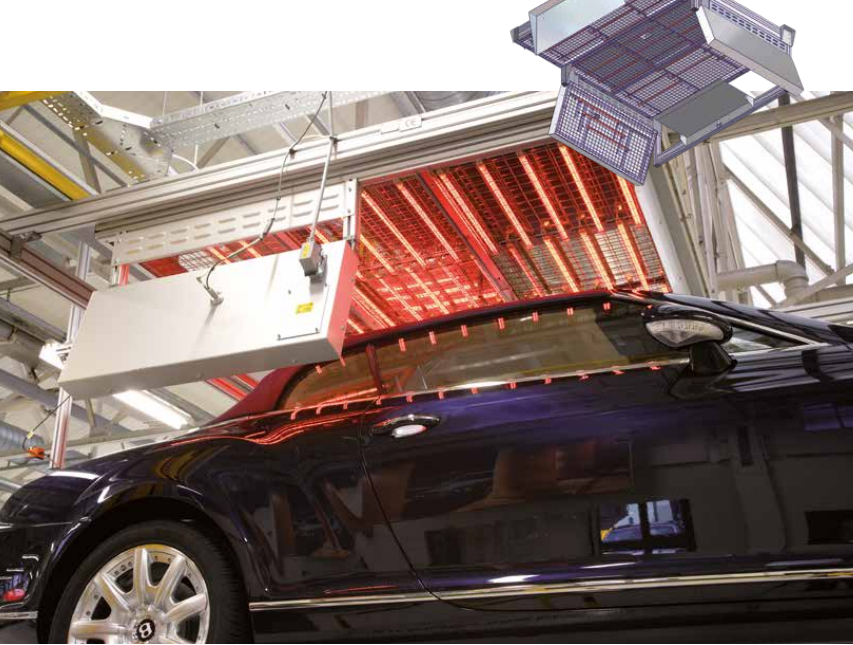
If you’re curing brake pad resins, you already know that short wave infrared (SWIR) is the way to go. It gets deep into the material where you actually need it. But here is the thing: if you just slap some lamps on a wall and hope for the best, you’re going to end up with cold spots. The secret isn’t just the lamps—it’s how you stack them vertically. Matching the heat to the part Every vehicle model has its own quirks. Some pads are huge, some are small, and tray heights are always changing. We don’t just space the lamps evenly because that doesn’t work in the real world. Instead, we look at the thermal mass. For those bigger pads, we pack more lamps into the center of the wall. Why? Because the edges cool down faster. If you’re running a mixed line with different parts, we set up overlapping radiation zones. That way, no matter where the part sits in the rack, it hits the right temperature ramp every single time. The power struggle SWIR lamps pack a massive punch in a tiny space. It’s great for speed, but it’s a beast on your power supply. We usually go with high-wattage quartz tubes to keep the wall from taking up half your shop. But a word of caution: check your electrical panels. When that bank of lamps kicks in, the surge is real. You don’t want to be the person who trips the breaker in the middle of a shift. The balancing act It’s a constant tug-of-war between intensity and uniformity. Sure, cranking up the intensity cuts your cycle time. But if the parts are too close to the tubes, you’ll scorch the surface. To stop that from happening, we tweak the vertical pitch and use reflectors to spread the heat around. The distance between the lamp face and the pad is everything. Too wide, and you’re wasting energy. Too narrow, and you’ve just ruined a batch of parts. Honestly? Getting that gap perfect usually comes down to a bit of trial and error right there on the shop floor.