Getting Your IR Lamp Layout Right for Custom Paint Booths
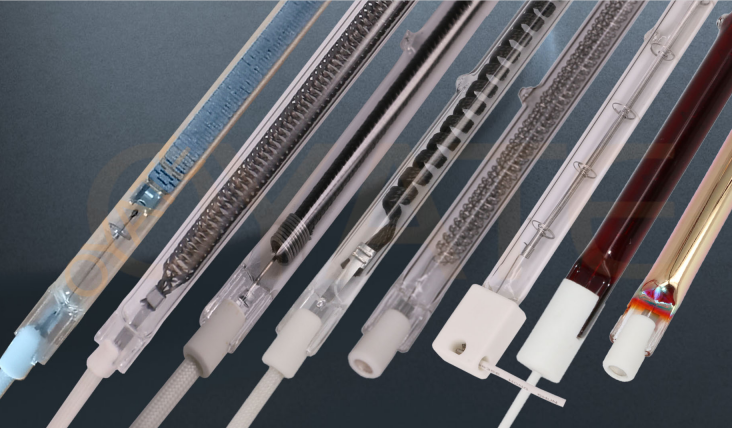
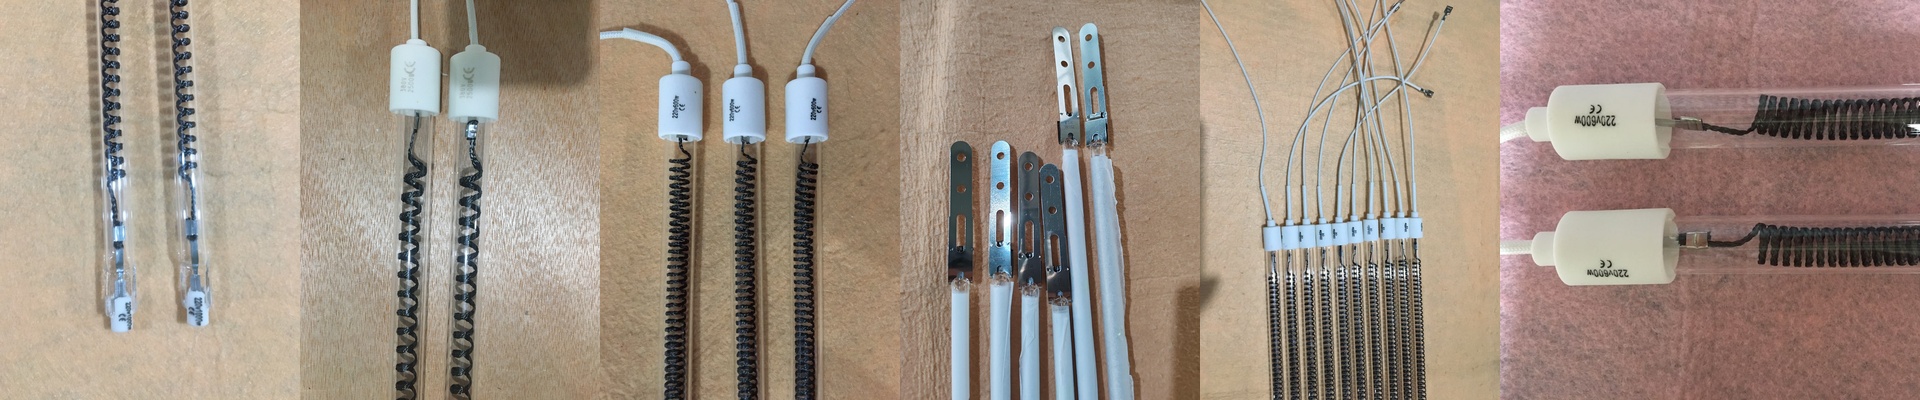
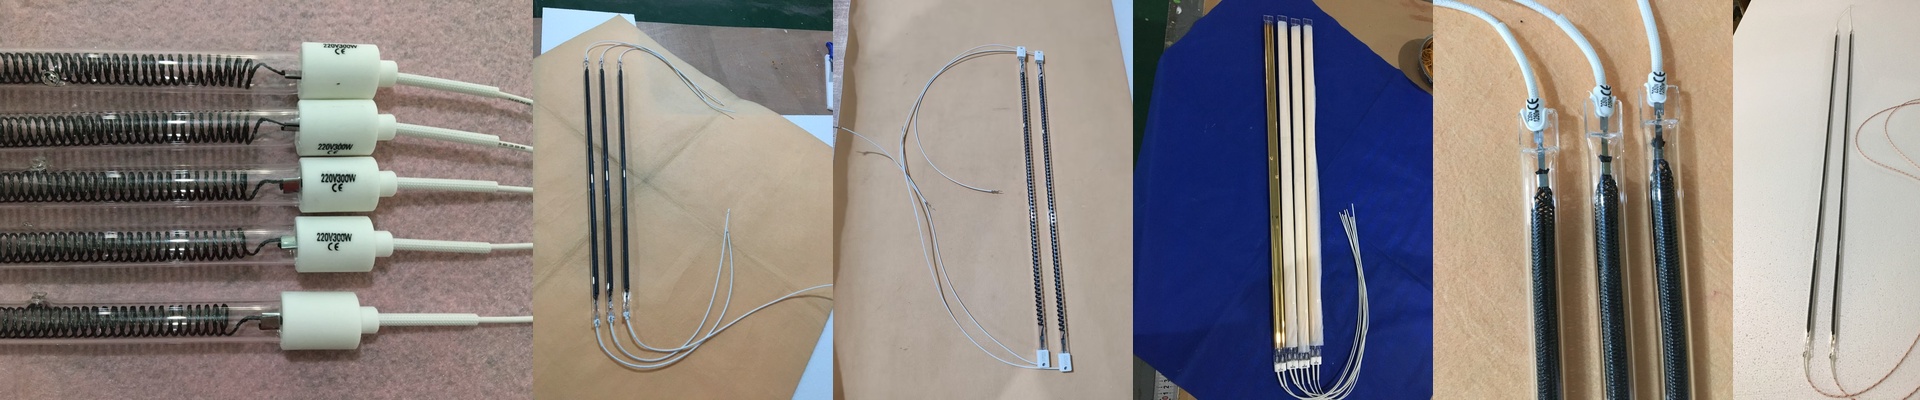
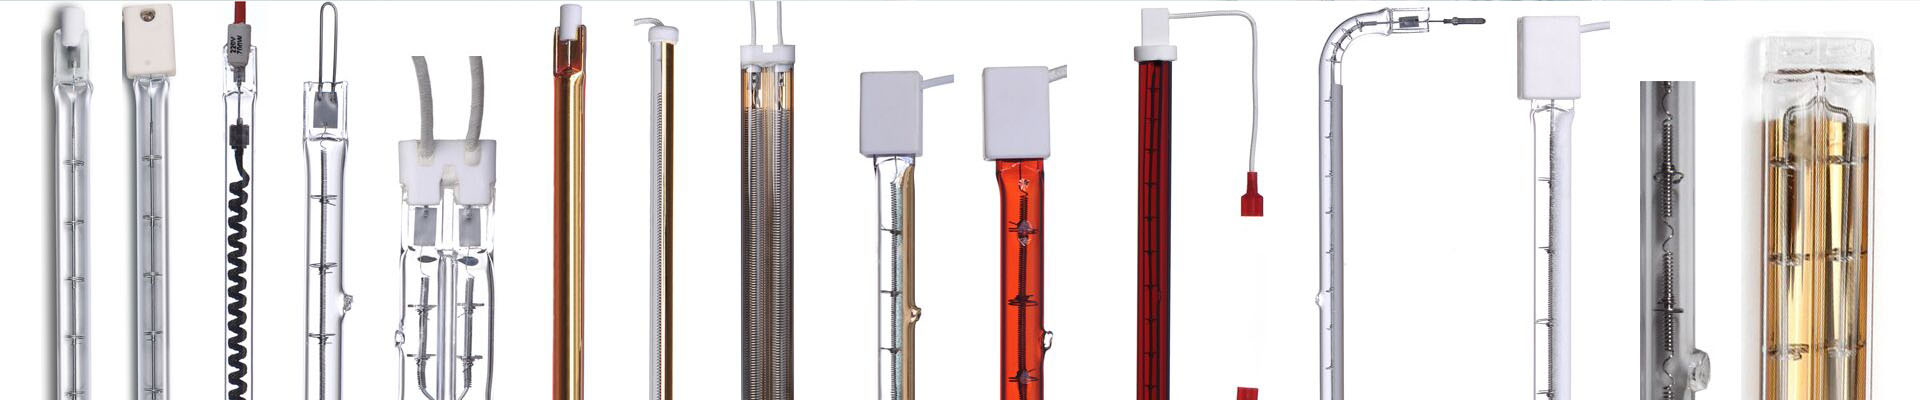
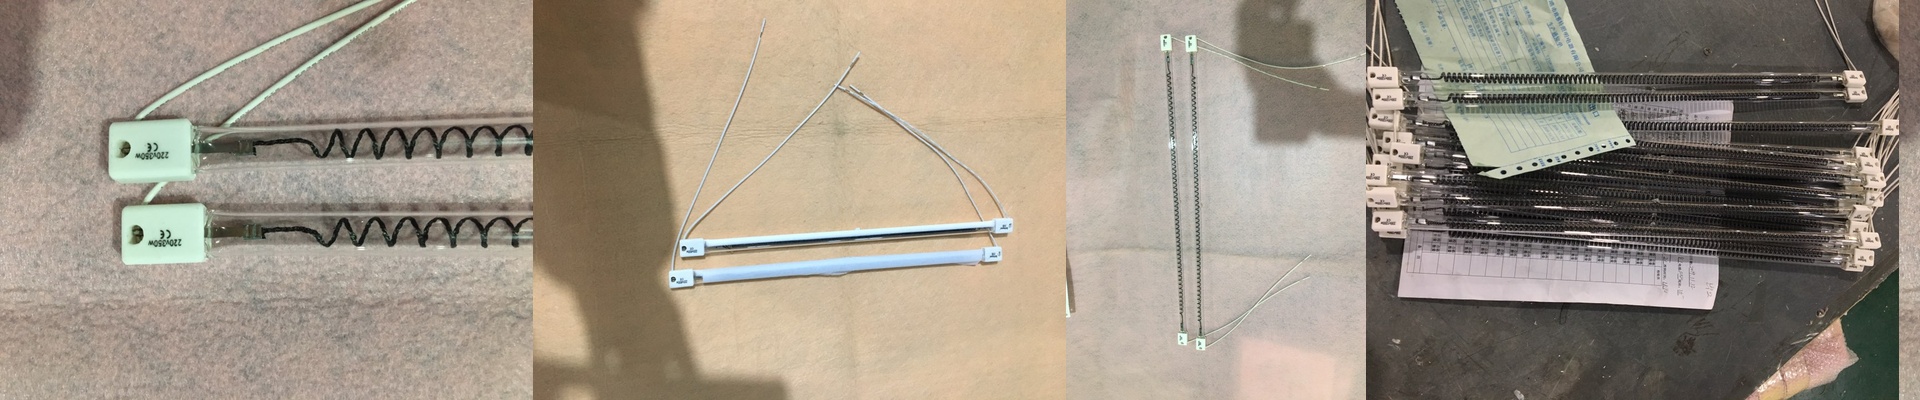
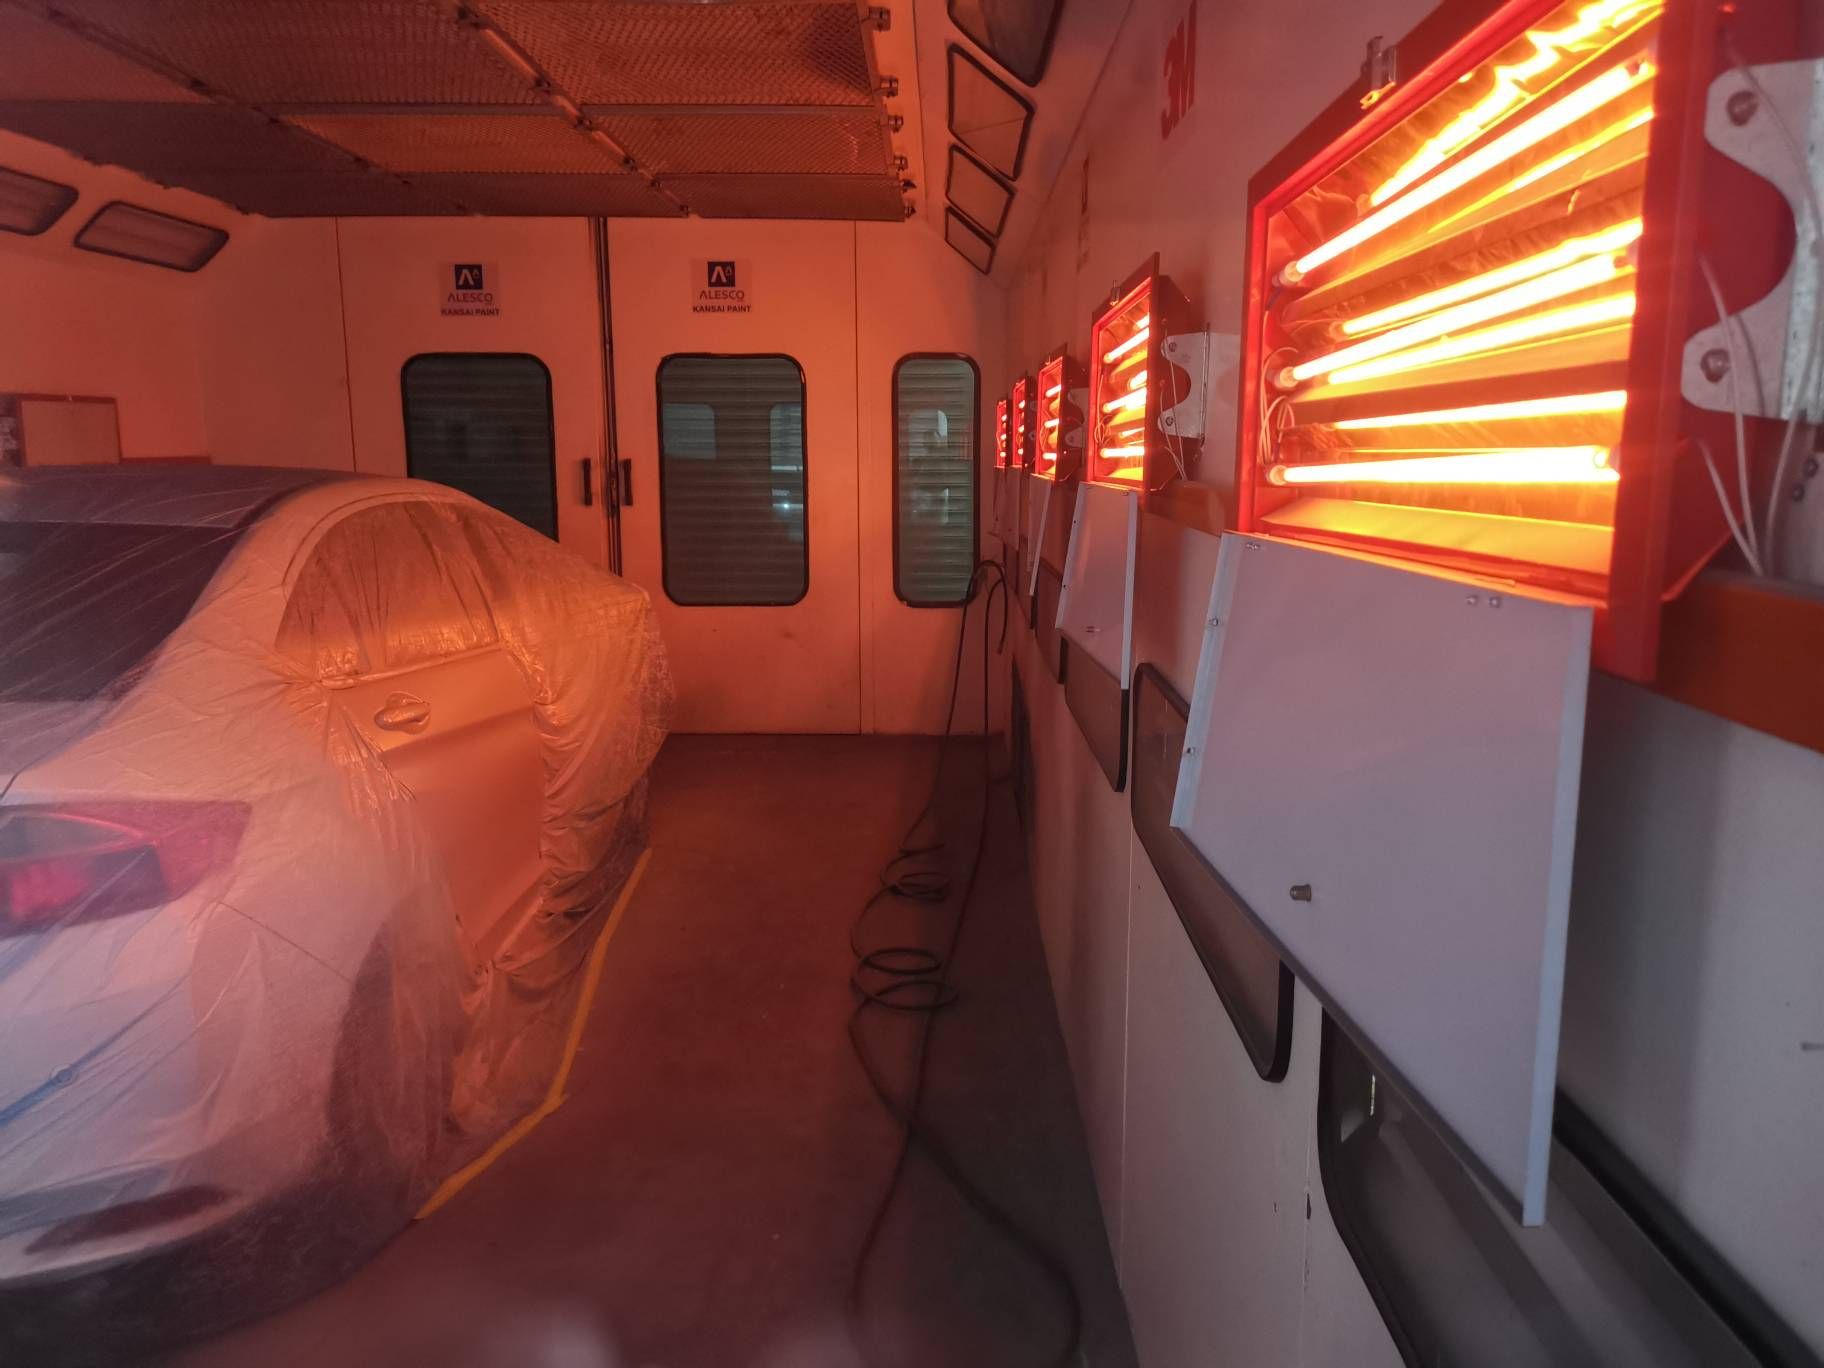
Ever notice how a heating wall that works perfectly for a sleek coupe completely flops when you roll in a full-size SUV? It happens all the time. If your IR lamps are spaced for a small car, the roof and those upper pillars on a bigger rig just won’t get hot enough to cure. It’s frustrating. We fix this by ditching the “one size fits all” approach and tailoring the vertical layout to the actual vehicles you’re painting. The trick is all about the line-of-sight. Shortwave IR is picky. If a lamp is blocked or just too far away, the energy vanishes. We don’t just slap the lamps in the center and hope for the best. Instead, we cluster them based on how tall the car is. For the big trucks and SUVs, we push more of the power density toward the top of the wall. You’ve got to keep a close eye on the distance between the lamp face and the panel. If that gap varies too much, your kW/m² goes haywire and you get uneven curing. Making it flexible We use adjustable mounting rails so you can slide the lamp banks up or down. It’s a lifesaver. If your production line shifts from sedans to vans, you just move the lamps. No need to rebuild the whole wall. We also use polished aluminum reflectors. These act like a mirror for heat, pushing the energy forward onto the car instead of letting it soak into the booth wall and wasting power. The balancing act: Power vs. Heat Soak Here is the catch. More lamps mean more coverage, but they also draw a lot more current. You’ll need to make sure your power cabinets can actually handle that peak load without tripping a breaker. Plus, there’s the “oven effect.” If you pack too many lamps into the wall, the air in the booth gets scorching. If the paint flashes too fast, you get solvent pop—those tiny, annoying bubbles that ruin a finish. It’s a bit of a dance. You have to balance how dense your lamp layout is with how fast your ventilation is running. Keep that surface temp right where the paint manufacturer wants it, and you’re golden.