Getting Your IR Lamp Layout Right for Brake Pad Curing
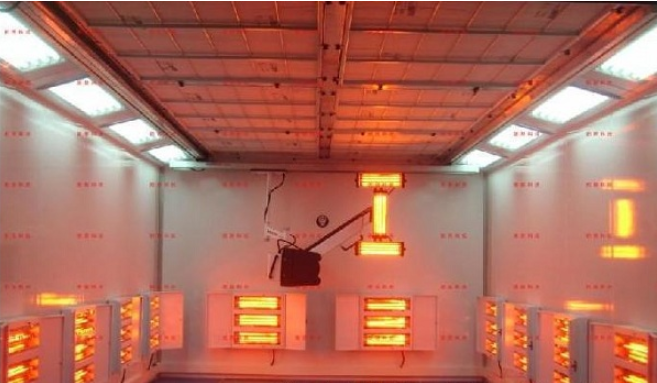
If you’ve ever dealt with brake pad curing, you know the struggle. You need that thermal soak to be just right. Too cold, and the bonding agents don’t set. Too hot, and you’ve scorched your friction material. It’s a tight window. When we build custom heating walls for ovens or paint booths, the whole game comes down to where those infrared (IR) lamps actually sit. If the vertical distribution is off, you end up with cold spots. And cold spots mean failed parts.
Dealing with Different Parts and Sizes
Here’s the thing: brake pads aren’t all the same. Between different geometries and chassis heights, your target is constantly moving. We don’t just slap lamps on a wall and hope for the best. We map out the radiation zones. If you just line them up evenly, you’ll likely overheat the edges of the pad while the core stays cold. To fix that, we play around with the spacing of the quartz tubes. Need deep penetration for a thicker pad? We tighten the vertical pitch to crank up the heat density. Working with smaller components? We widen the gap so you don’t char the surface. It’s all about balancing the wattage against the distance. Otherwise, you’ll see those dreaded “hot stripes” on your material.
The Real-World Trade-offs
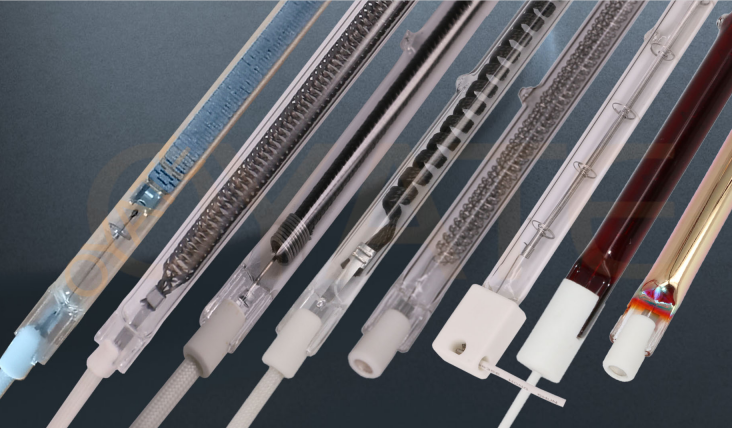
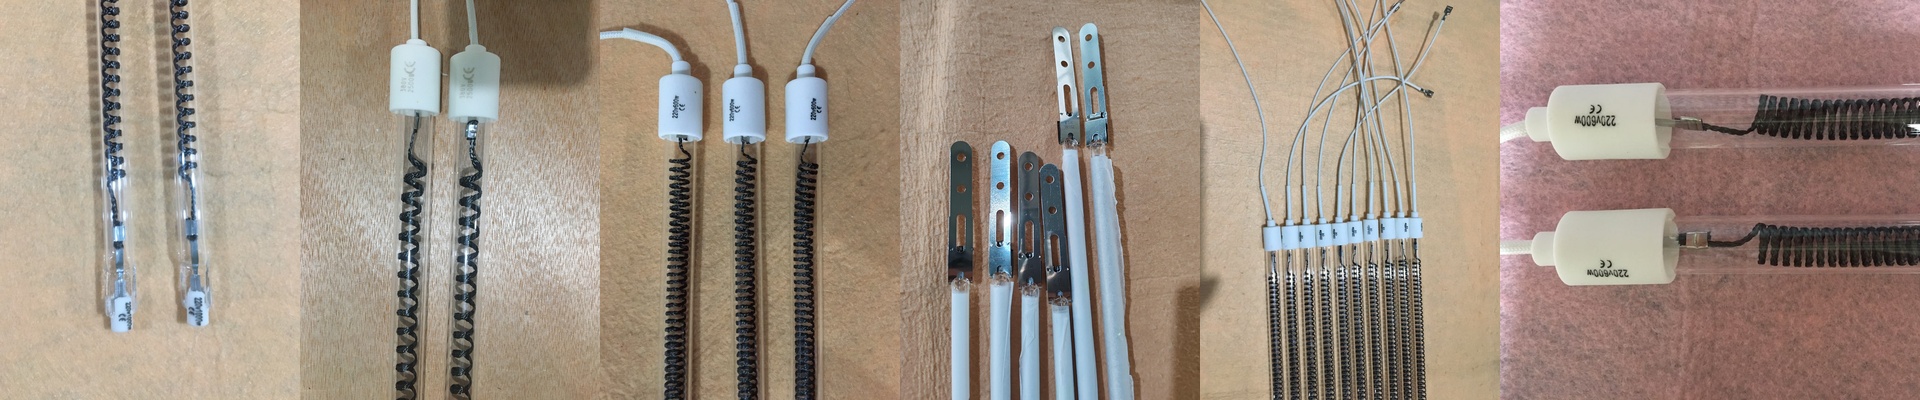
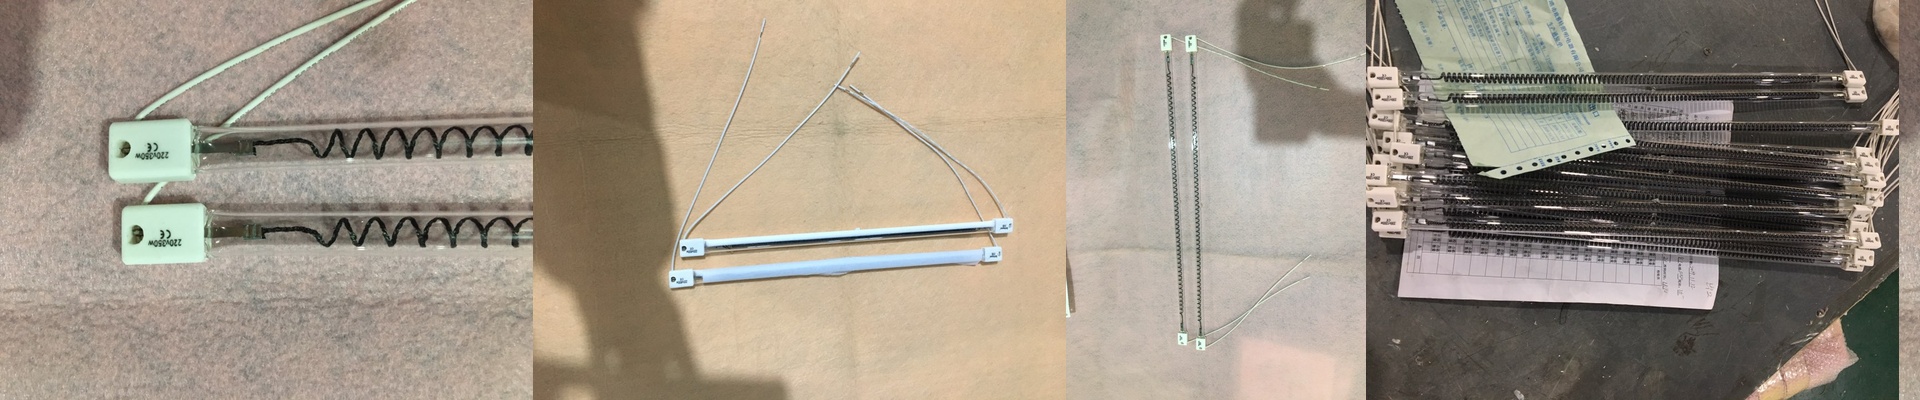
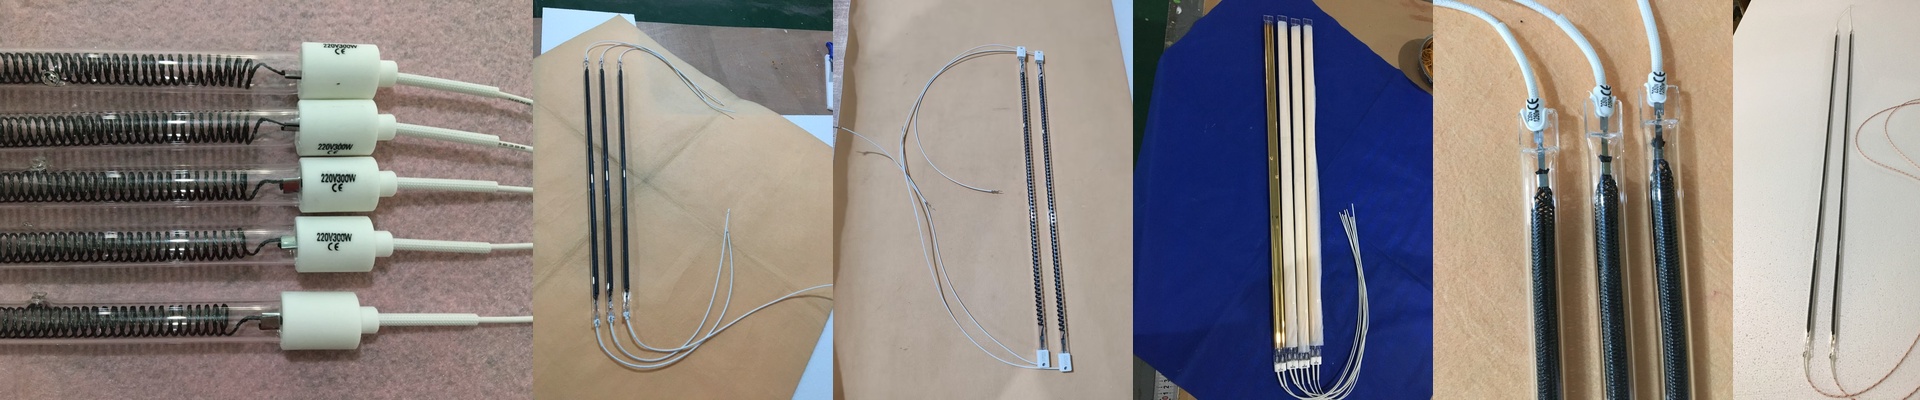
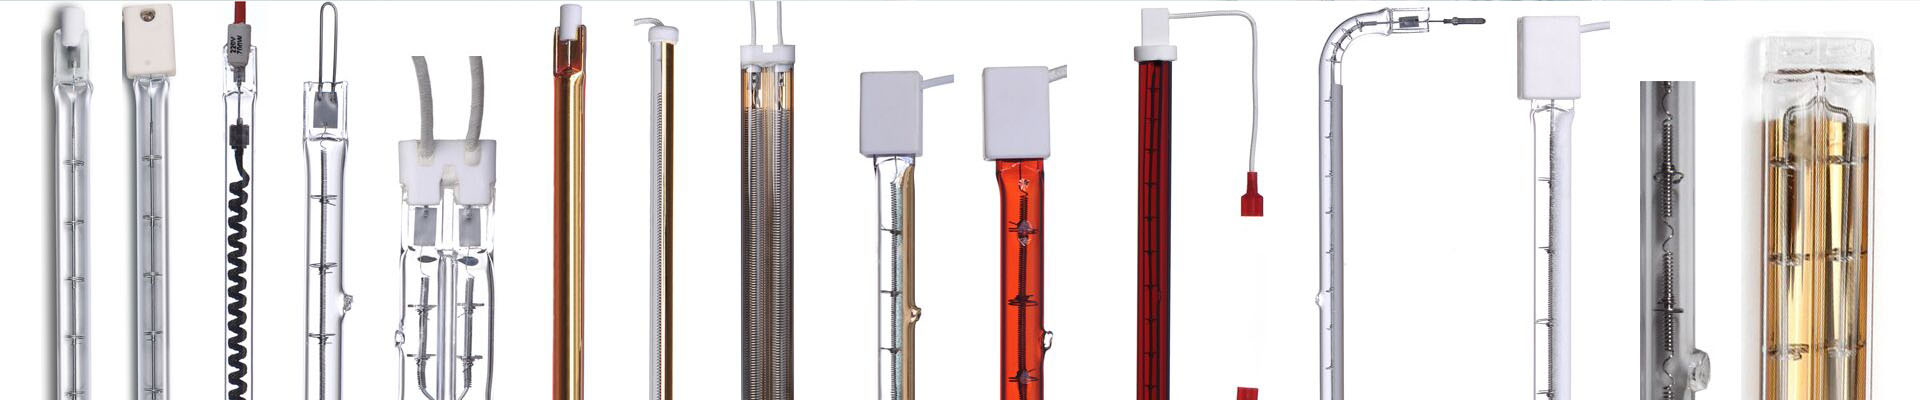
We stick with shortwave IR because it hits the target fast. It’s efficient. But there’s a catch. High-density lamp arrays throw off a massive amount of ambient heat. If you pack the wall too tight to hit a specific temperature ramp, your ventilation has to be able to keep up. If it can’t pull that excess air out fast enough, you’re going to cook your wiring and connectors. Not a great day at the shop. We use reinforced quartz tubes because industrial environments are rough. They take a beating. Just a tip: make sure your connectors are actually rated for the heat. A poorly seated connector will burn out the first time you start cycling the system.
Making it Fit Your Shop
A “one-size-fits-all” wall is a myth. It just doesn’t work. We build the lamp layout around your specific part footprint. By tweaking the vertical offset, we put the energy exactly where the pad sits. It stops the energy waste and, more importantly, it lets you get your parts through the cure cycle a lot faster.