Getting the Heat Right: How to Set Up IR Walls for Every Car
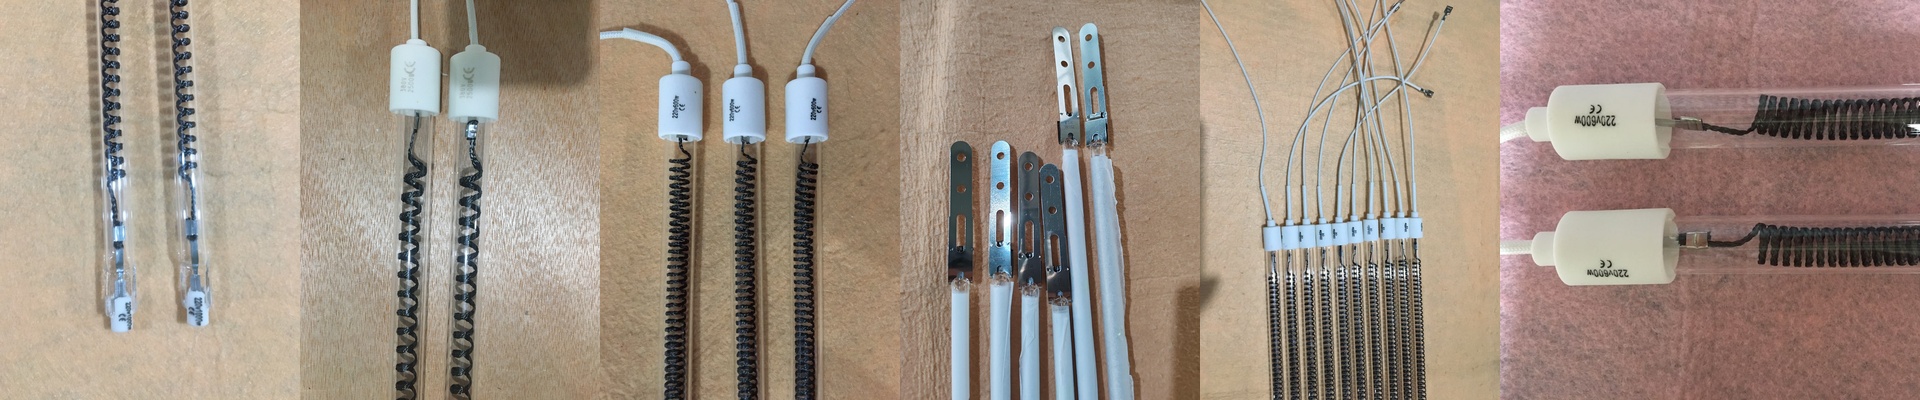
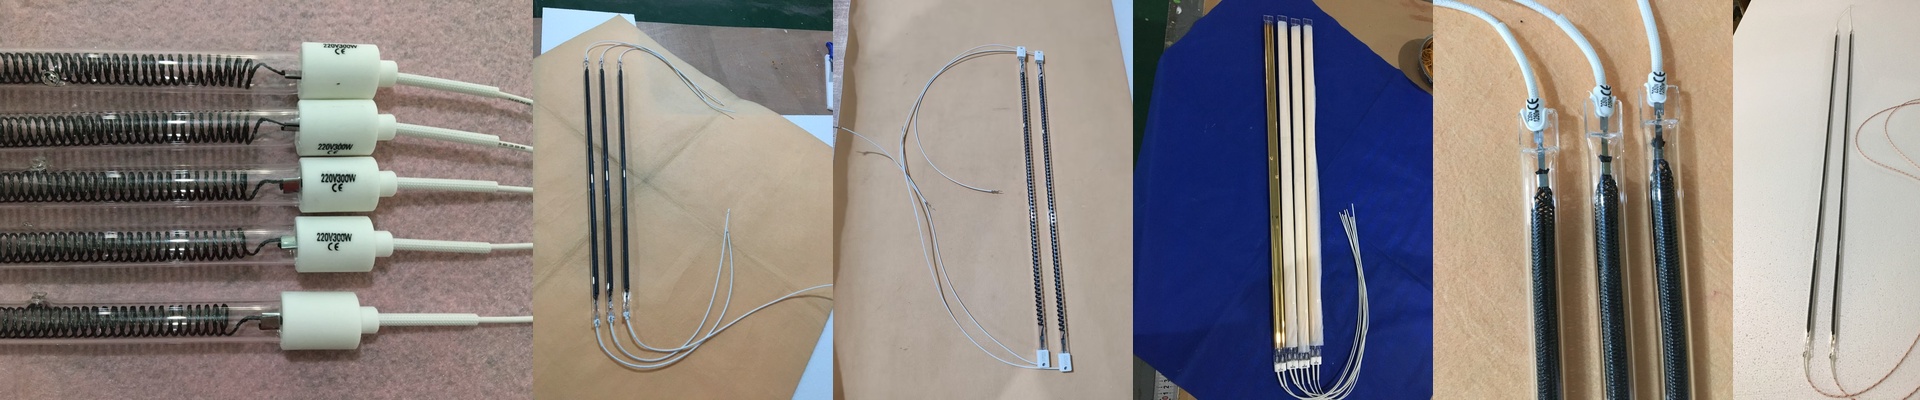
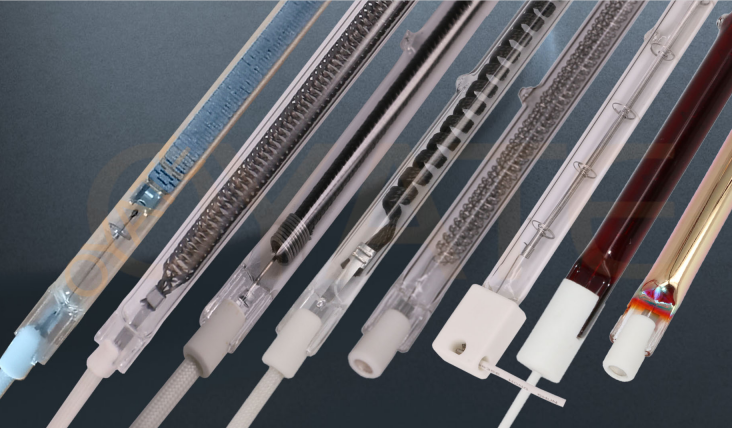
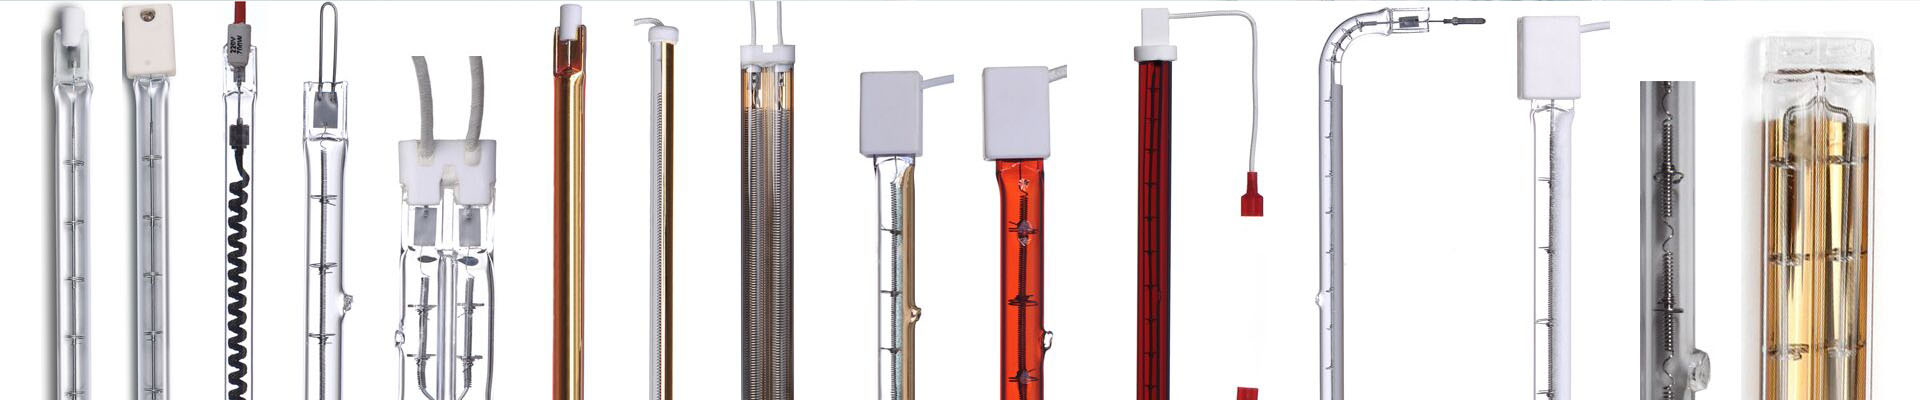
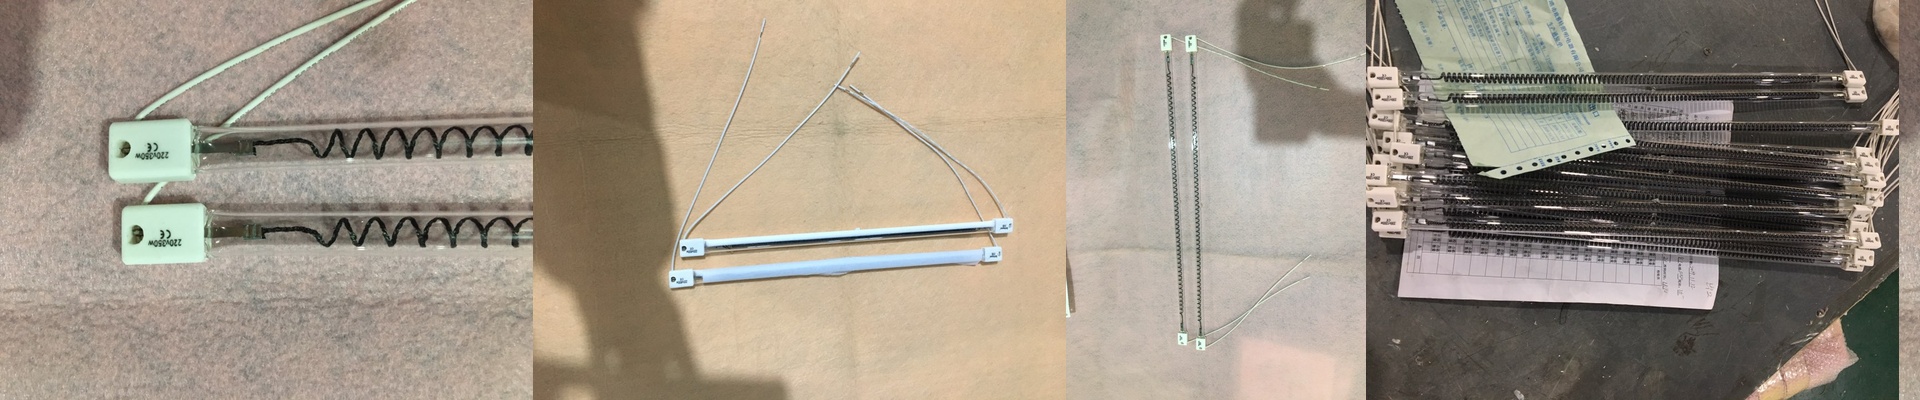
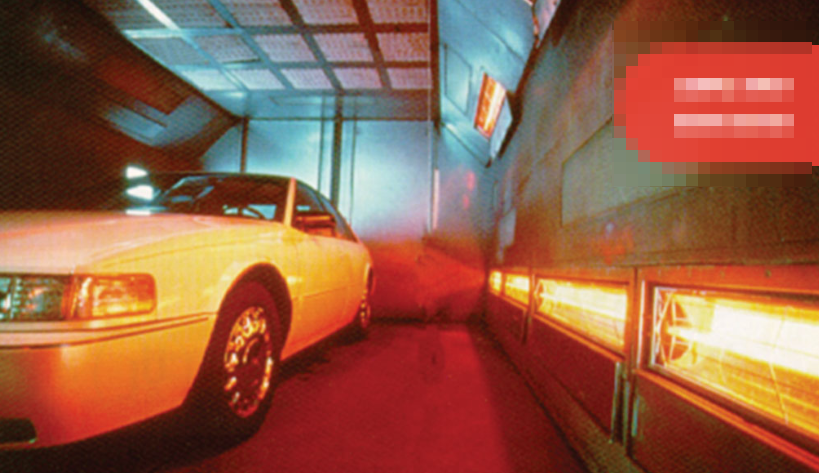
When you’re building infrared heating walls for paint booths, the biggest headache isn’t the power—it’s where the heat actually goes. Think about it. You’ve got low-slung coupes and massive, high-roof SUVs coming through the same shop. That gap between the car’s body and the heating lamps changes every time a new vehicle rolls in. And that gap is everything. If the distance is off, the heat just doesn’t hit the paint the way it should. The trick to vertical heat We don’t just slap lamps on the wall at equal intervals. If you do that, you’ll end up with cold spots on the chassis and a roof that’s practically baking. Instead, we look at the shape of the cars you’re actually painting. For most jobs, we pack more high-wattage shortwave lamps into the middle section. Why? Because that’s where you need the heat to really dig deep into the door panels and fenders. It’s all about the angle and the distance. When a car’s body curves away from the wall, you lose heat. To stop that from happening, we tighten up the spacing in those specific zones. It keeps the surface temperature steady, no matter the curve. The trade-offs We usually go with quartz halogen tubes. They’re great because they heat up almost instantly. But there’s a catch. If you cram too many lamps into one spot to cover every possible vehicle height, you’re going to put a massive strain on your ventilation. Plus, if a car is parked a little too close to a high-density array, you risk ruining the finish. The fix is simple: zones. By splitting the wall into separate banks that you can control independently, you get total flexibility. Low car? Kill the top rows. Big truck? Crank up the bottom. The real-world side of things Just a heads-up on the install: the wiring for these arrays is no joke. You need heavy-duty circuitry, or you’ll deal with voltage drops across those long runs. We use industrial connectors to make sure the tubes don’t fry at the contact points. And keep in mind, there’s always a trade-off. The more zones you add for precision, the messier your control panel gets. You’re basically trading a simple switch for a bit more control.