Getting the Heat Right: The Trick to Vertical IR Lamp Layouts
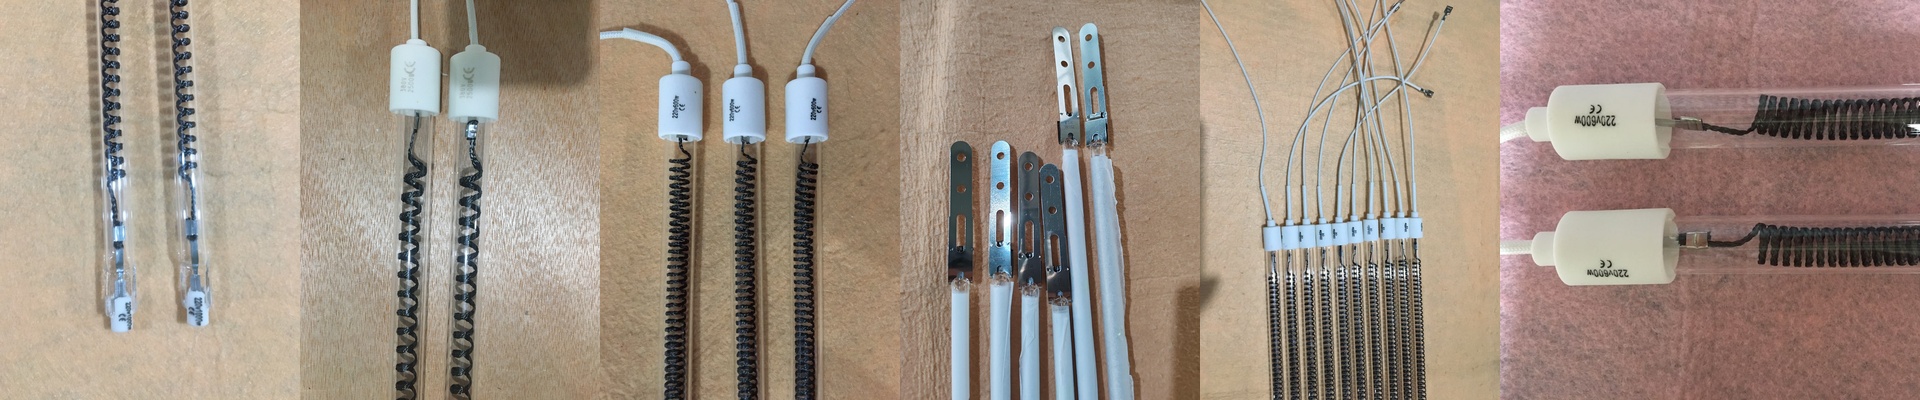
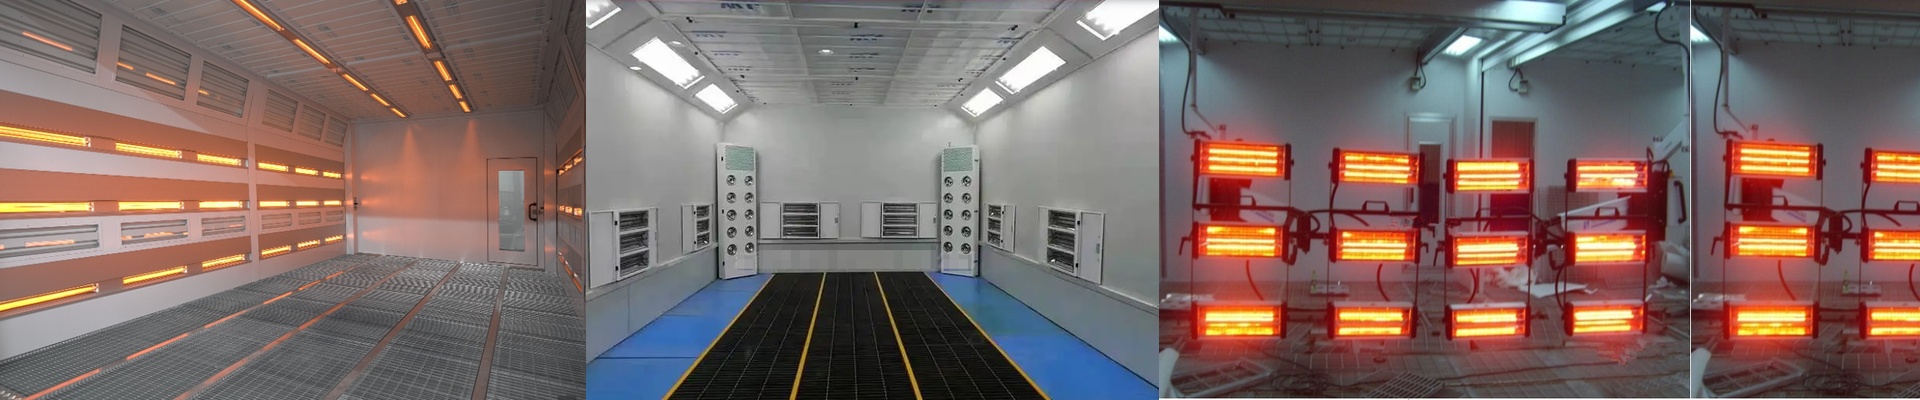
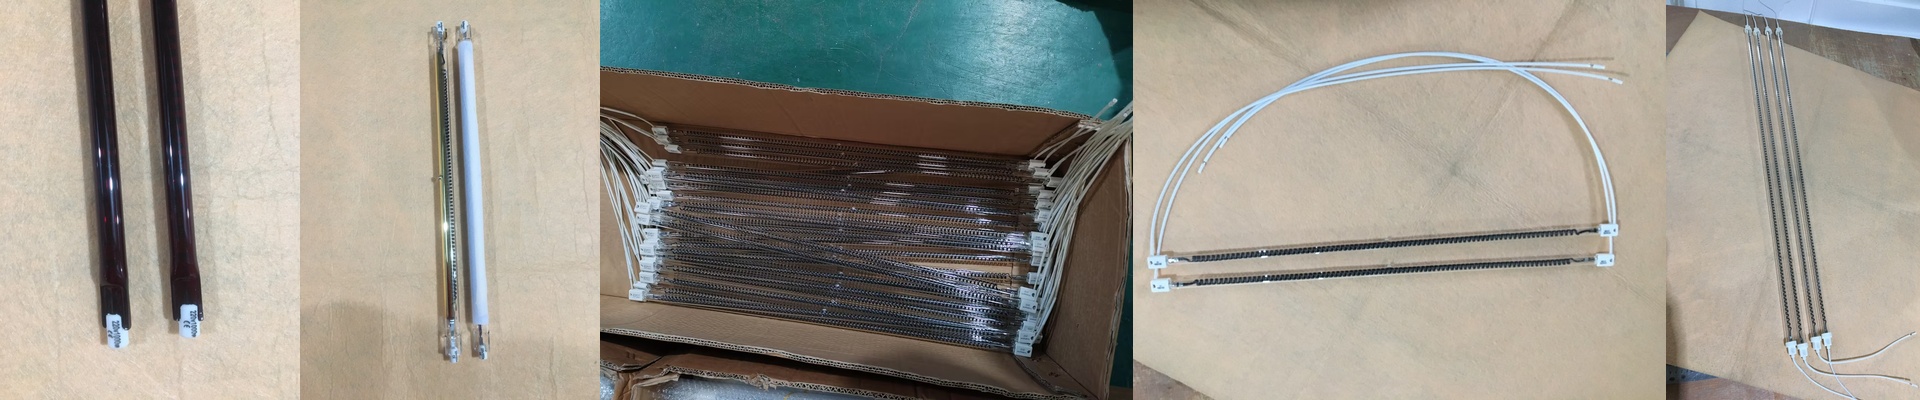
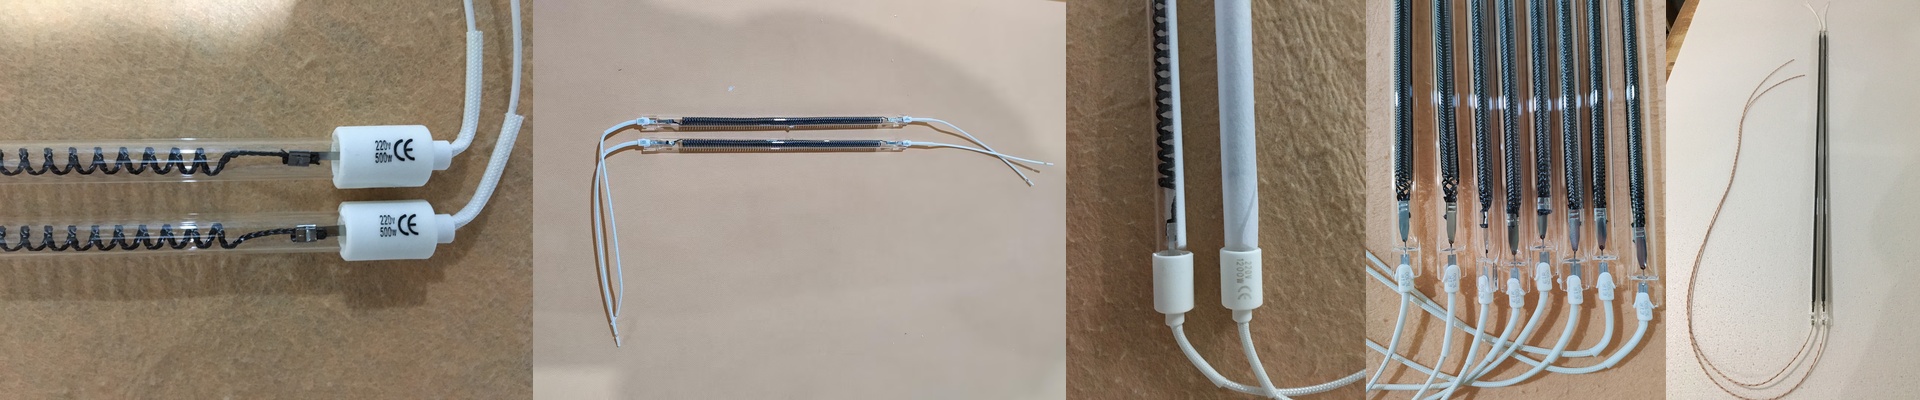
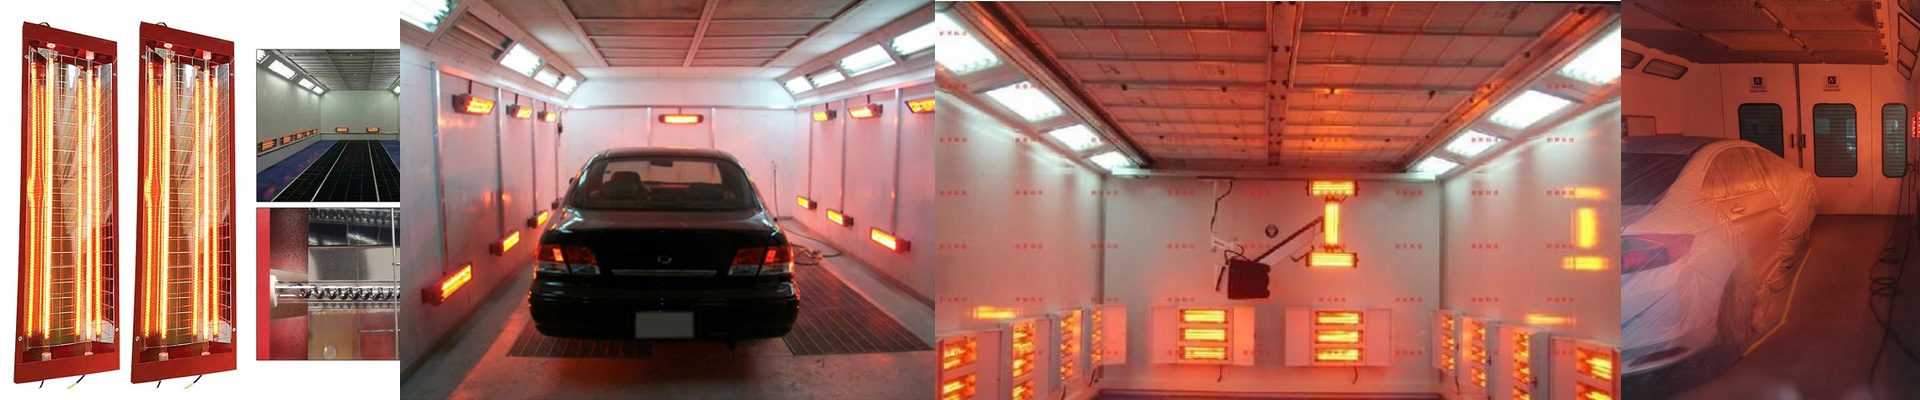
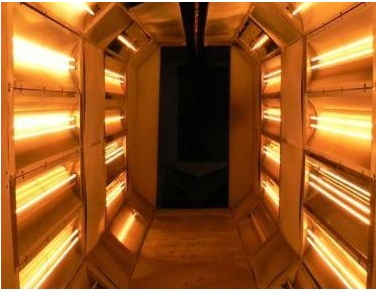
When we’re putting together custom heating walls for brake pad curing or paint booths, the real headache isn’t just getting the heat—it’s getting it to go where it’s actually needed. If you just space your lamps evenly across the wall, you’re going to run into trouble the moment your part sizes change. You’ll end up with some spots that are scorching and others that are barely warm. That’s a recipe for uneven curing and a massive waste of electricity. Mapping the heat We don’t just throw lamps onto a frame and hope for the best. You’ve got to line up those IR emitters with the actual surface of the brake pads or the chassis. Since different models come in different sizes, I usually suggest a zoned layout. Basically, we group the lamps into banks that you can control separately. If you’re working on a smaller component, you just click off the top or bottom sections. It’s a simple fix that stops the top of your part from burning while the bottom is still cold. Spacing and density We stick with shortwave IR because it punches through the material fast. But you have to be careful. If you jam too many high-wattage tubes into a small space, the heat starts to overlap and you get these crazy spikes in the center. I usually set the vertical pitch based on the lamp’s beam angle. You want a tiny bit of overlap. Just enough so you don’t end up with those annoying “cold strips” on your parts. The trade-off Here’s the thing: a high-density wall pulls a lot of power. To get the kind of heat you need for fast curing, you’re probably looking at a 3-phase setup. But there’s a catch. The more zones you add to make things “perfect,” the more wiring and contactors you’re stuffing into your control cabinet. It’s a balancing act between having total control over the temperature and keeping the system simple. My advice? Keep your wiring clean. Trust me, you’ll be glad you did when it comes time to swap out a tube that’s finally popped.