Getting Your IR Heating Walls Right for Every Car Size
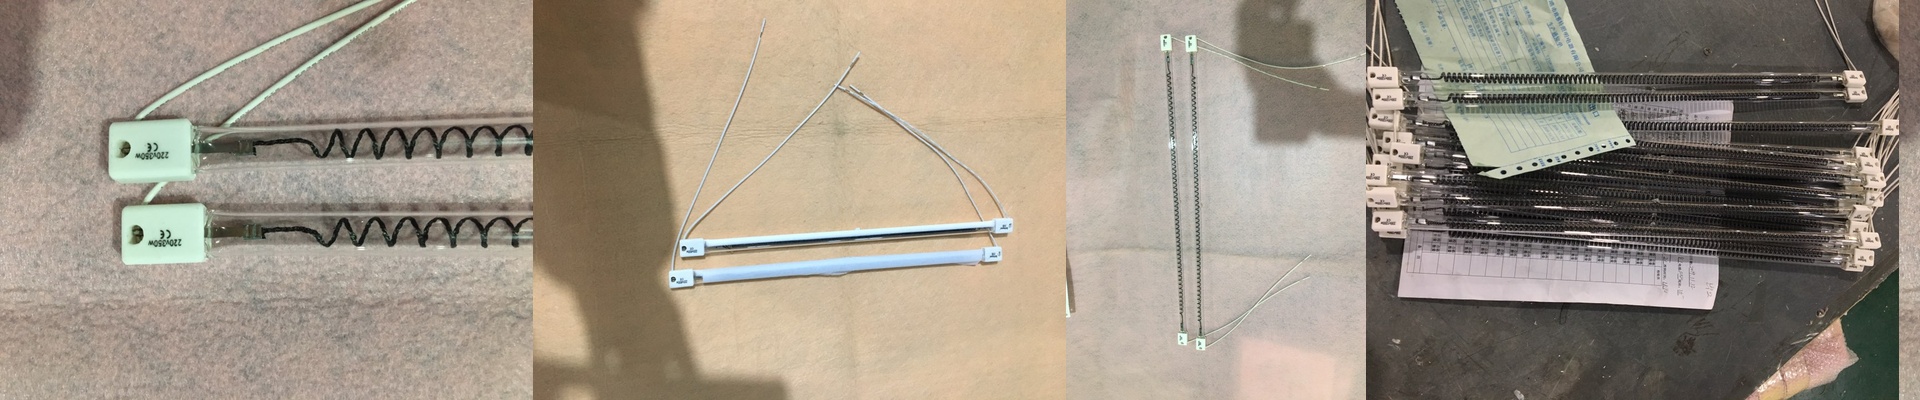
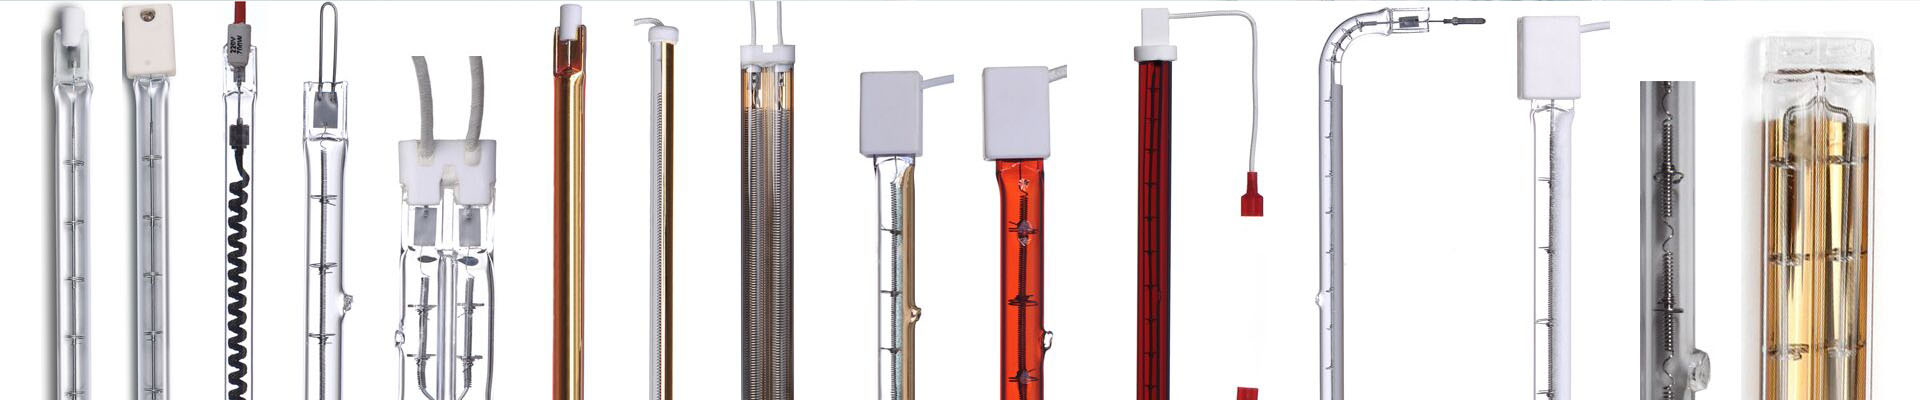
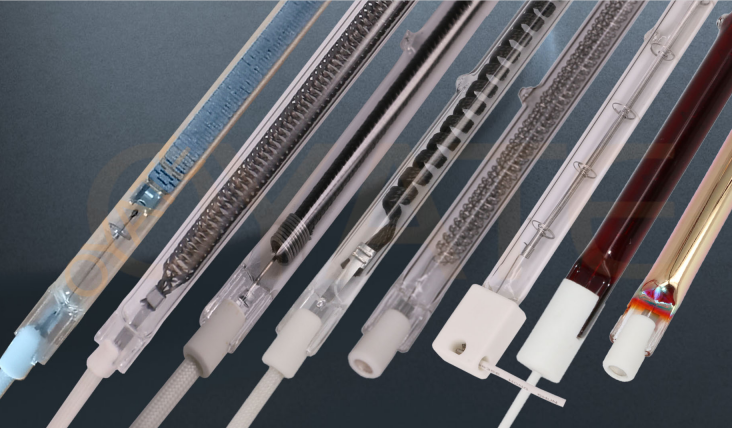
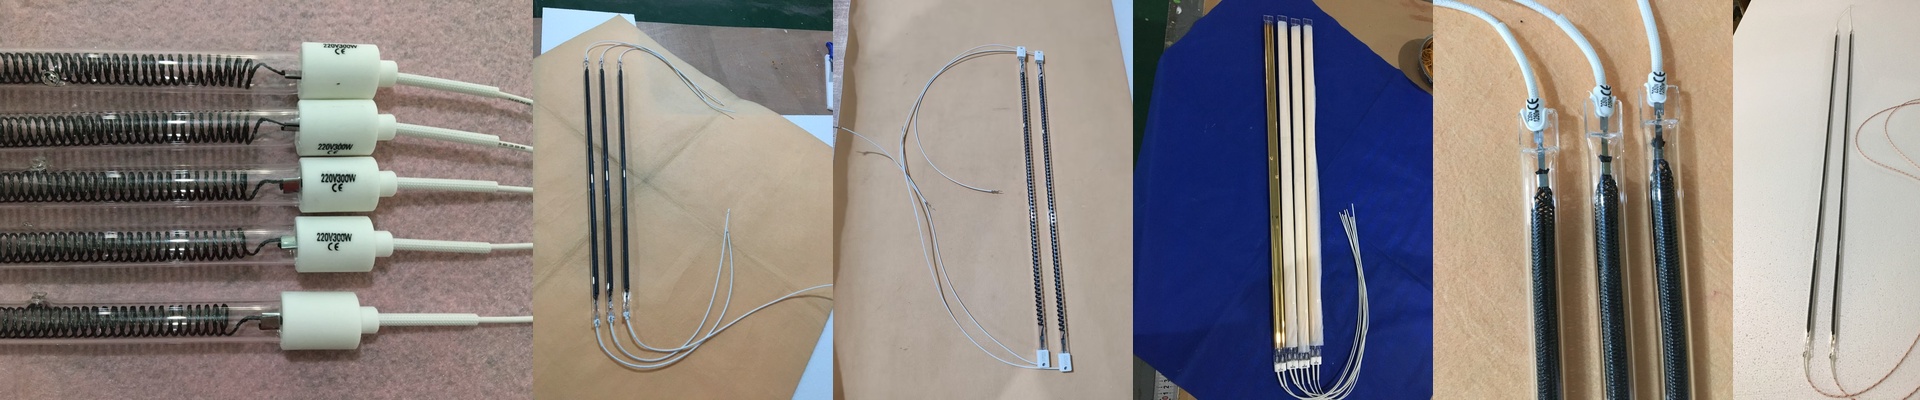
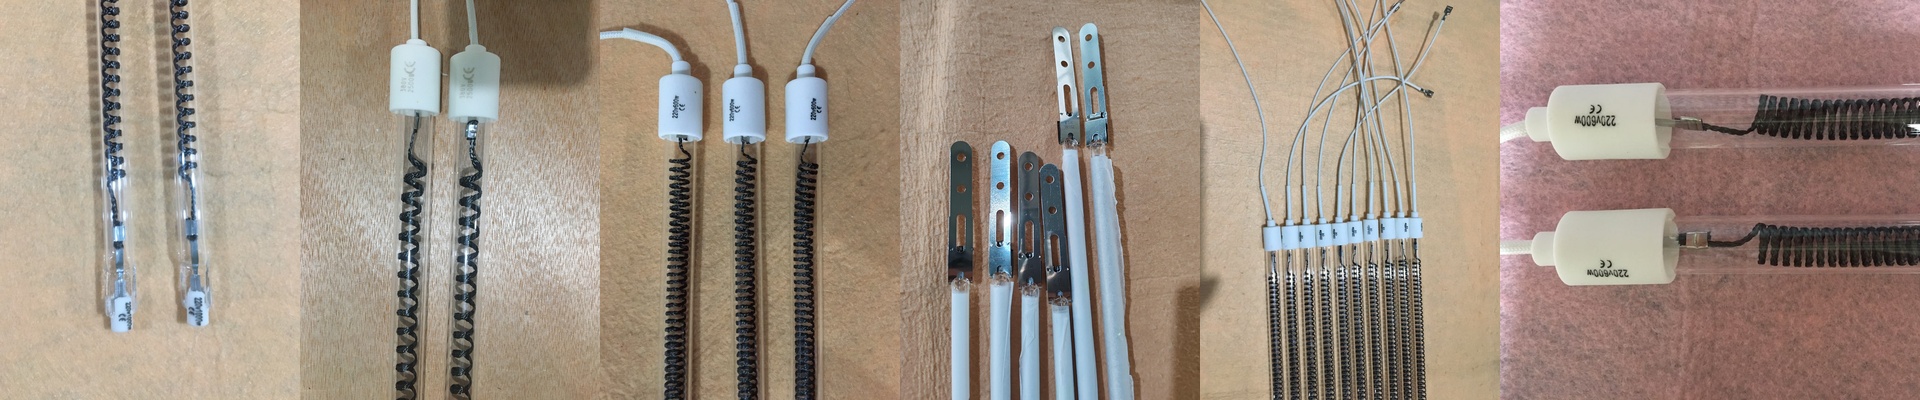
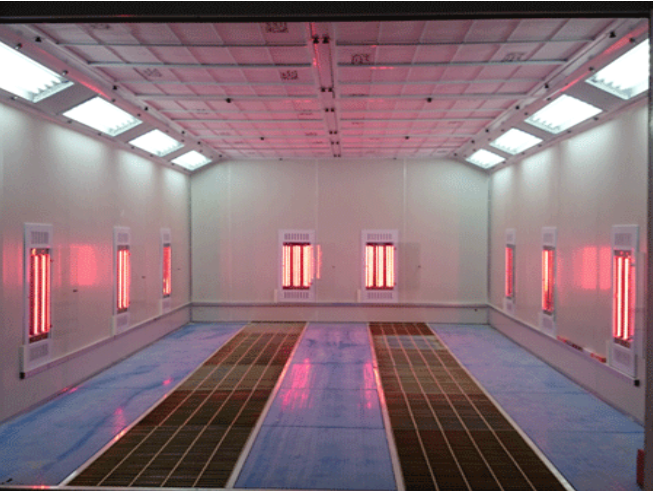
Here is the big headache when you’re setting up heating walls for paint curing: the gap. Not every car is the same height. If you just stick to a standard, fixed grid of lamps, you’re going to run into trouble. You’ll end up with “cold spots” on the small cars, or you won’t get enough heat hitting the roof of a big SUV. Dealing with the vertical heat The trick is to stop thinking about uniform spacing. Instead, we look at how the paint actually absorbs heat and the shape of the car itself. We usually put the higher-wattage lamps at the very top and bottom of the wall. Why? Because those areas have to fight the most distance to reach the roof or the side skirts. And we use short-wave infrared (SWIR) emitters. These are great because they dive deep into the coating layers. It speeds up the curing process without just scorching the surface. The nitty-gritty setup We tend to mount these lamps in modular banks. It’s just smarter. If you’re working on a compact car, you can just kill the power to the top lamps. No point in wasting electricity or overheating the air for no reason. But a word of warning: high-density IR arrays pull a lot of power. Your electrical panels, cabling, and contactors need to be ready for that initial surge when everything ramps up. Also, don’t skimp on the cooling fans. If the housing gets too hot, you’ll fry your lamp sockets way sooner than you should. Making it work on the floor If you want a perfect finish, go with a staggered overlap pattern. By offsetting the lamps vertically, you get rid of those annoying “zebra stripes”—those uneven lines you see in cheap ovens. It means the paint cures the same way from the bumper all the way up to the roof, no matter what’s parked in the booth.